GOT OLD TAPES?
LEARN HOW TO PRESERVE THEM NOW
PRESERVATION
All videotapes—no matter how well they’re stored—are deteriorating. Even the equipment needed to watch videotapes is now obsolete.
Experts predict most, if not all, videotapes will be unwatchable by 2030 at the latest.
Your collection of videotapes is irreplaceable. Only through video can you relive voices, stories, events, and milestones from the past.
Now is the time to begin digitizing your tape collection. Otherwise, your archives—and the history they hold—may be lost forever.
These resources will help you educate yourself to be able to create your plan for how to digitize your collection, either on your own or through a vendor like Media Burn.
STEP 1: IDENTIFY WHAT YOU HAVE
Before you can make your digitization plan, you need to determine how much content you have and what issues are going to be specific to your collection.
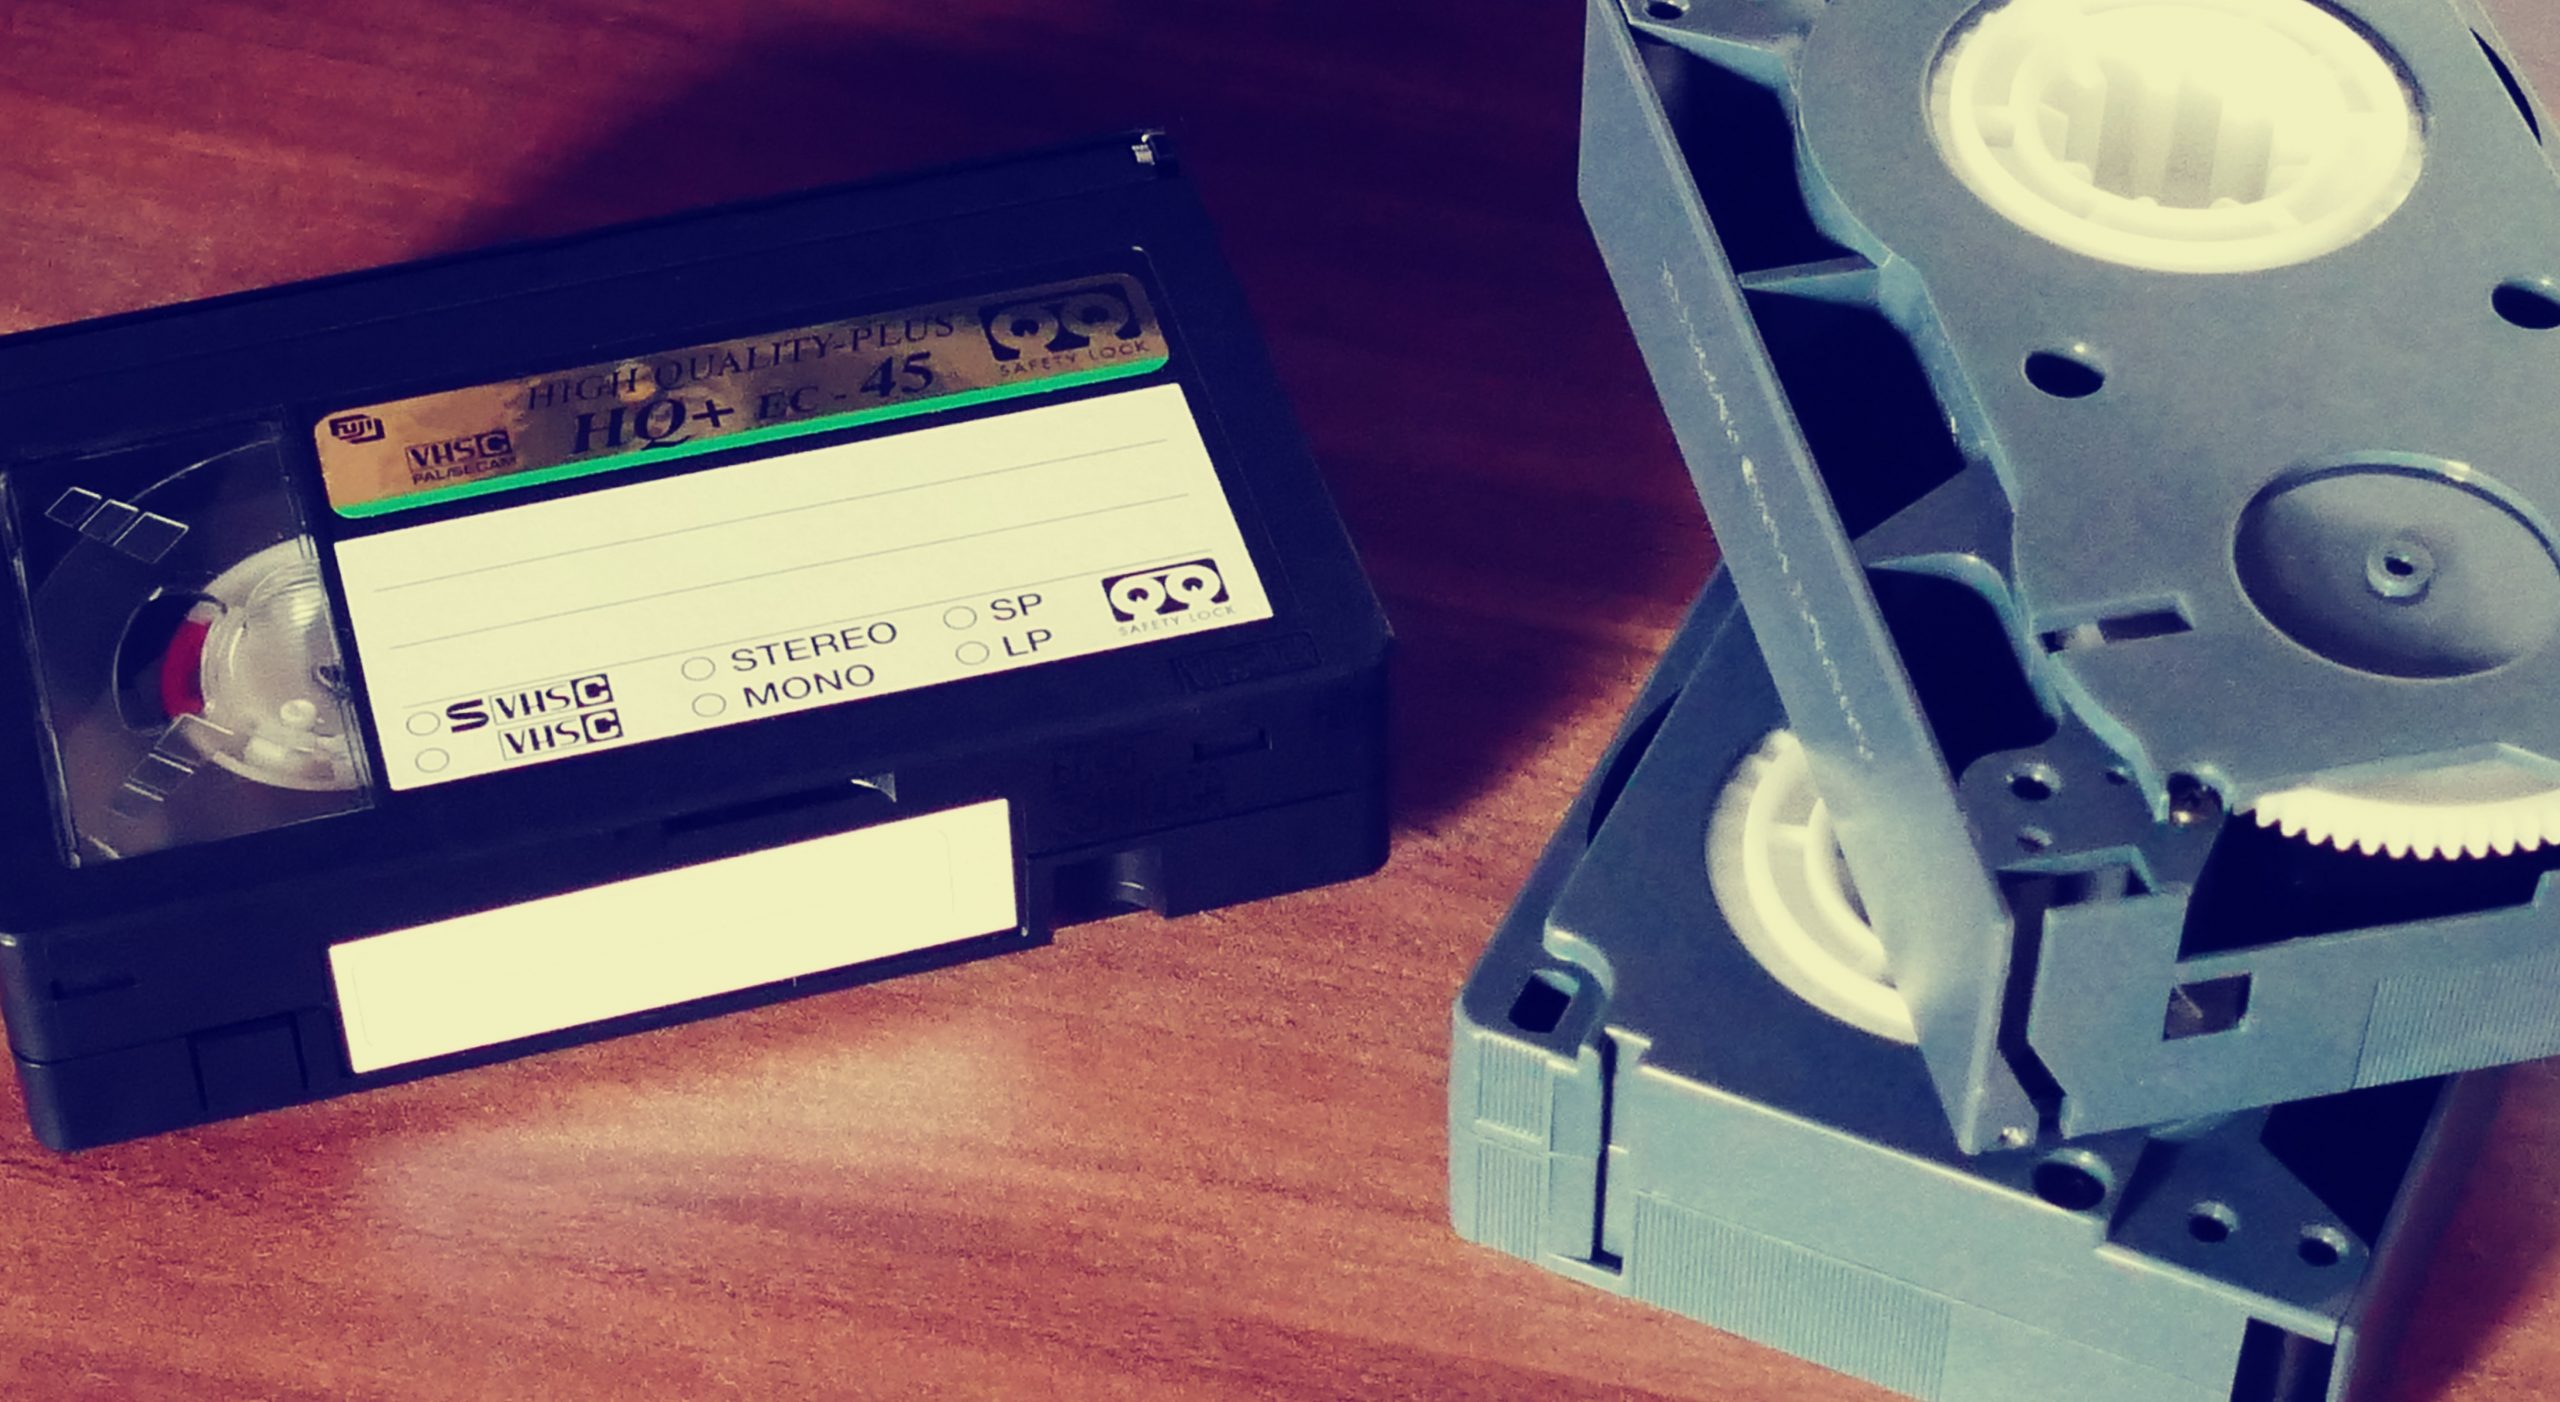
The first step would be to gather all your videotapes and make a list of the titles, formats, and estimated running times.
Detailed tape format identification guides are available through the Texas Commision on the Arts (pdf) and California Revealed (pdf).
STEP 2: STABILIZE THE STORAGE CONDITIONS
The ideal temperature for videotape storage is between 40-70F, and the humidity should be kept as low as possible (50% relative humidity is recommended). Don’t store them on the floor or under any kind of water pipe, to reduce the risk of water damage. Avoid basements, attics, and garages.
Check the tapes for mold by looking through the window of the cassette and looking for white particles. If you find any mold, immediately separate the tape from the rest of the collection so it doesn’t migrate and infest others. Do not attempt to play a moldy tape as it will contaminate your deck. A limited number of companies specialize in videotape mold remediation; contact us for more information.
If your cassette isn’t moldy, open the hatch by pressing the release button on the side and smell the tape. A waxy smell may be a sign of sticky shed syndrome. A tape with sticky shed syndrome will not be able to be played back without special conservation treatments. But don’t despair yet! Media Burn has a track record of recovering tapes with sticky shed syndrome.
STEP 3: DECIDE WHETHER TO DIGITIZE YOURSELF OR WORK WITH A VENDOR
Consider two major factors:
Will I be able to assemble the equipment needed to do the work?
If your collection is primarily consumer formats like VHS or mini-DV, you may be able to set up a simple home digitization station. If your collection contains professional or more obscure formats, it’s a lot less likely that you’ll be able to source and maintain working equipment, because it hasn’t been manufactured in a long time.
Do I have time to do the work in a reasonable period?
When you digitize a tape, it happens in real-time. You can estimate the length of your project by taking the total running time of the collection and multiplying by about 1.5, to account for time spent on setup, organizing, and quality control. Plan for even longer if you expect to do any cataloging or editing.
STEP 4: DETERMINE WHICH FILE FORMATS YOU NEED
Most people, whether those managing large institutional collections, or individuals caring for their family’s legacy, will benefit from creating and storing multiple copies of their digitized files at different quality levels. At a minimum, this would likely include a master file and an access file.
Master file
The goal in the master file is to capture and preserve as much information from the videotape as possible, as well as to retain compatibility with future playback systems. The choice of format will depend on several factors, including: your operating system, the equipment being used to create the files, the amount of storage you have available, your level of ability to troubleshoot codec / player incompatibilities in the future.
Because of these factors, there is no single recommendation that applies to everyone. Archives and other institutions often select uncompressed or FFV1, while production companies and TV stations often select ProRes.
Access file
The goal of the access file is for it to be of the greatest use to you today in watching, sharing, and playing online. These online standards change continually, but storing the master file ensures that you can always transcode the most up-to-date versions of your content for whatever you need.
It’s best to consult the current upload specifications for sites like YouTube, Facebook, Instagram, or wherever you plan to share your videos. Generally (at the time of this writing), most sites are optimized for the H264 codec with an mp4 wrapper.
If you are working with a vendor, they will be able to discuss your options and advise on the formats that best suit your project. For a detailed read, see A Primer on Codecs for Moving Image and Sound Archives by Audiovisual Preservation Solutions.
STEP 5: DETERMINE HOW AND WHERE YOU WILL STORE YOUR DIGITAL FILES
You’ve digitized your tapes. Now what? As long as the files are maintained, you’ll never have to do another big project like this again.
The best practice is to store copies of the files in at least two, ideally three different places, and in different mediums. For example, maybe you have one copy of the files on your laptop, one copy on an external hard drive, and one stored online in a service like Google Drive or Dropbox. Plan for the fact that hard drives only last a few years. Continually check your storage devices to ensure they’re still operational. When (not if) they die, quickly create a new storage device by copying the files from one of your backups.
FURTHER READING: DETAILED GUIDES TO ESTABLISHING A HOME DIGITIZATION PROJECT
Our favorites include:
Activist’s Guide to Archiving Video website created by WITNESS, the global leader in human rights video. It’s particularly helpful for activists with collections of protest footage or human rights documentation. https://archiving.witness.org/archive-guide/
Dr. Tape-Love Or, How I Learned to Stop Worrying and Digitize My Analog Media! zine created by XFR Collective, a volunteer moving image archivist collective. It’s a printable workbook that walks you through many of the decisions you will need to make about your collection, with space for notes. https://xfrcollective.wordpress.com/dr-tape-love-or-how-i-learned-to-stop-worrying-and-digitize-my-analog-media-zine/
How To Digitize Your Home Videos (MiniDV & VHS) video created by the Activist Archivists. It’s an easily accessible hands on tutorial for individuals who want to create basic stations to digitize their home video collections. https://archive.org/details/At-Home-Digitization_HomeVideoDay2014
Minimum Viable Workstation Recipes collaborative document created by archivist Ashley Blewer. It provides detailed lists of all the equipment needed to digitize videotapes, separated by budget level. https://docs.google.com/document/d/12aZv3QDCcQSkVmHjmwAgywOgDeV41bt8kAlBhiQ6XZo/edit
Legacy Management Resource Portal website created by the Black Metropolis Research Consortium, which connects those who seek to document, share, understand and preserve Black experiences. The resource is aimed at individuals and organizations beginning the process of thinking about how to care for their legacies. https://bmrc.lib.uchicago.edu/resources/legacy-management-resources-portal/